Plant Growth and Root Development
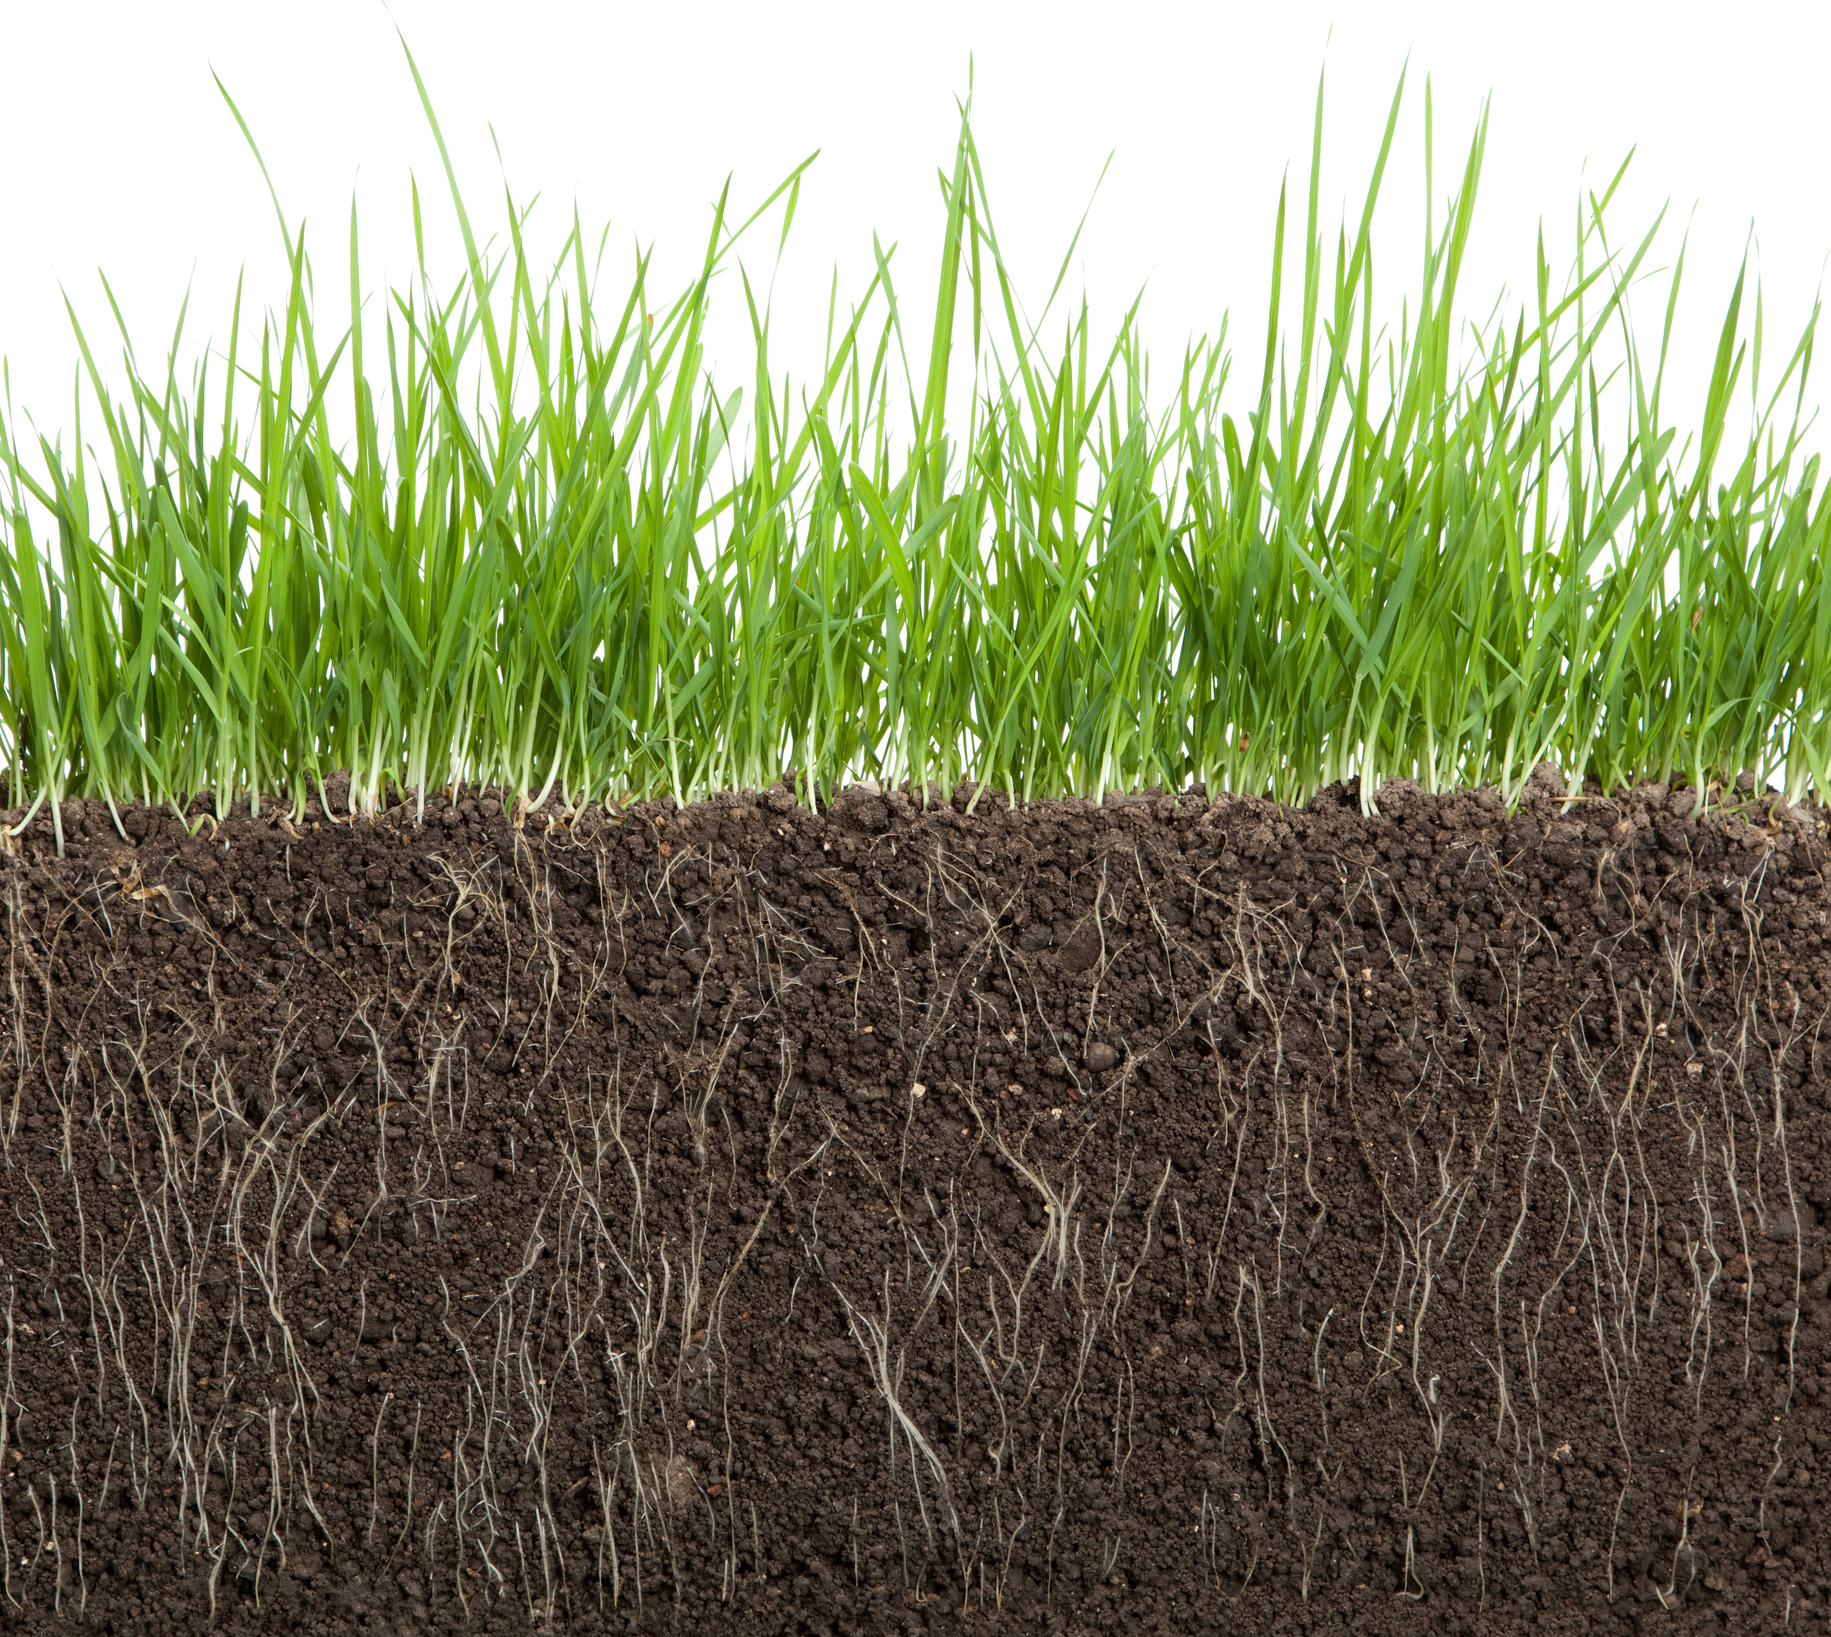
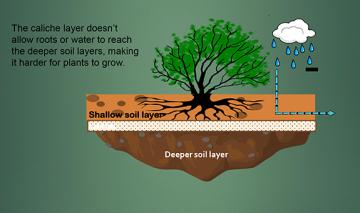
Water is a critical element for plant growth, but certain soils or sediments can actually block water from getting to the deeper soil layers. For example, caliche is a hard, shallow layer of soil often found in the southwest and other arid and semiarid parts of the world. Caliche inhibits water from reaching the deeper soils, making it harder for plants to grow. It also prevents roots from reaching the deeper soils, depriving the plant of nutrients. Consequently, this “barrier” could stunt a plant’s growth, or cause the plant to wilt and die. (See Appendix A for more information)
 About the Experiment
For this experiment, we’re going to test the effect a hard soil layer has on plant growth and root development.
 |
Details
|
 |
|
 |
|
 What You'll Need
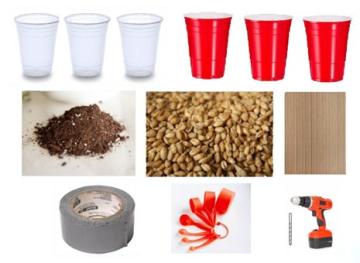
- 3 clear plastic cups (e.g. Solo cups)
- 3 non-clear plastic cups
- Potting soil (Small bag, 6-8 qt.)
- Wheatgrass or cat grass seed (100 seeds, available online or at local pet store)
- Piece of cardboard
- Baking soda
- Duct tape
- Measuring cups
- Drill & small bit
 Let's Do This!
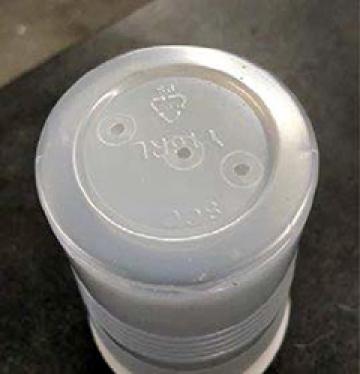
Step 1. Drill 3 small holes in the bottom of 3 clear plastic cups. (Have an adult help with this step for safety).
Step 2. Cut 2 pieces of cardboard so it fits tightly about 1.5” from the top of one clear cup (cup with holes). Trace the opening of the cup and cut 1/4” inside the line.
Make sure the cardboard fits tightly. Mark where the cardboard is on the cup, remove cardboard and fill up to the line with soil. Place cardboard on top of the soil.
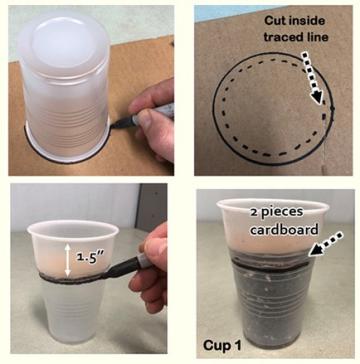
Step 3. Using duct tape, tear skinny strips and place around the edge of the cardboard to seal to the cup. Make sure to only cover edges of the cardboard with tape.
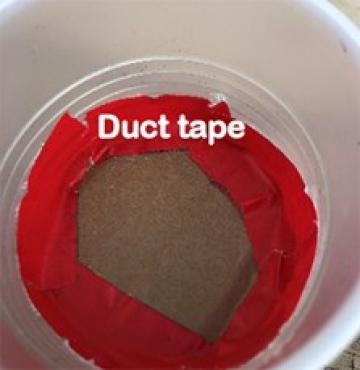
Step 4. Fill the cup with soil ½” from the top (label this “Cup 1”). Repeat the process, but place cardboard about 3” (halfway) from the top of the second cup.
For a tight fit, trace the top of the cup and cut cardboard 1/2” inside line. (label this “Cup 2”).
Fill 3rd clear cup ½” from the top with soil (No cardboard) (Label this “Cup 3”).
Place the cups inside 3 non-clear cups.
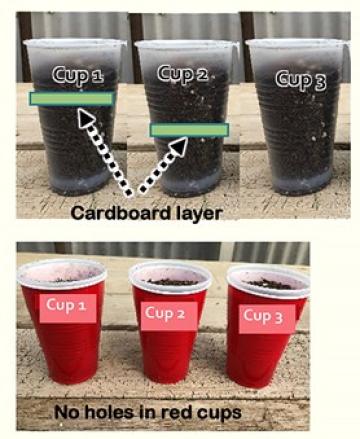
Step 5. Pour ½ cup water in each cup. Wait 1 minute and pour another ½ cup of water in each cup. OBSERVE: Which cup has standing water after a minute? Record answer on data sheet.
Step 6. Place 30 grass seeds in each cup and cover with 1/8” soil. Gently add a little more water to wet topsoil.
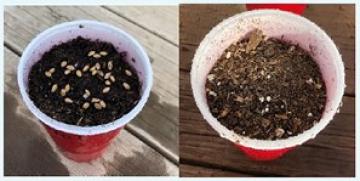
Let seeds germinate and grow for 1 week.
Let’s Look At The Results!
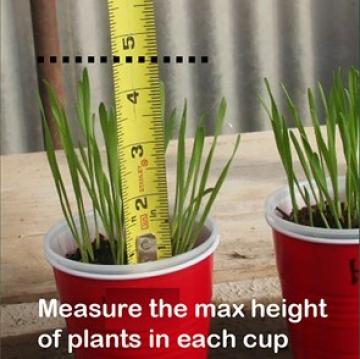
After 1 week count the number of plants in each cup and measure the tallest blades of grass in each cup.
Remove clear cups from non-clear cups and observe the amount of water in the non-clear cup. Which cup has the most?
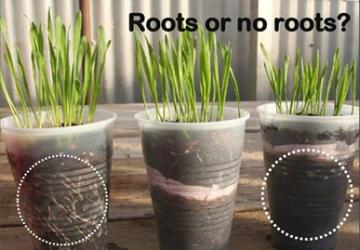
Observe the amount of roots in the clear cups. Are the roots below the “caliche” layer? Which cup has the most roots? Record your answers and observations on the data sheet.
After 1 week, add ¼ cup water to each cup. Do Not add any more water.
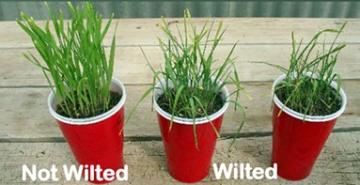
Observe how many days till plants in each cup wilt (may take a week or more) and record answers on data sheet.
Record any other observations you have during the experiment on the data sheet.
Finally, summarize what you think occurred in your experiment and why based on the observations you made and the data you collected.


